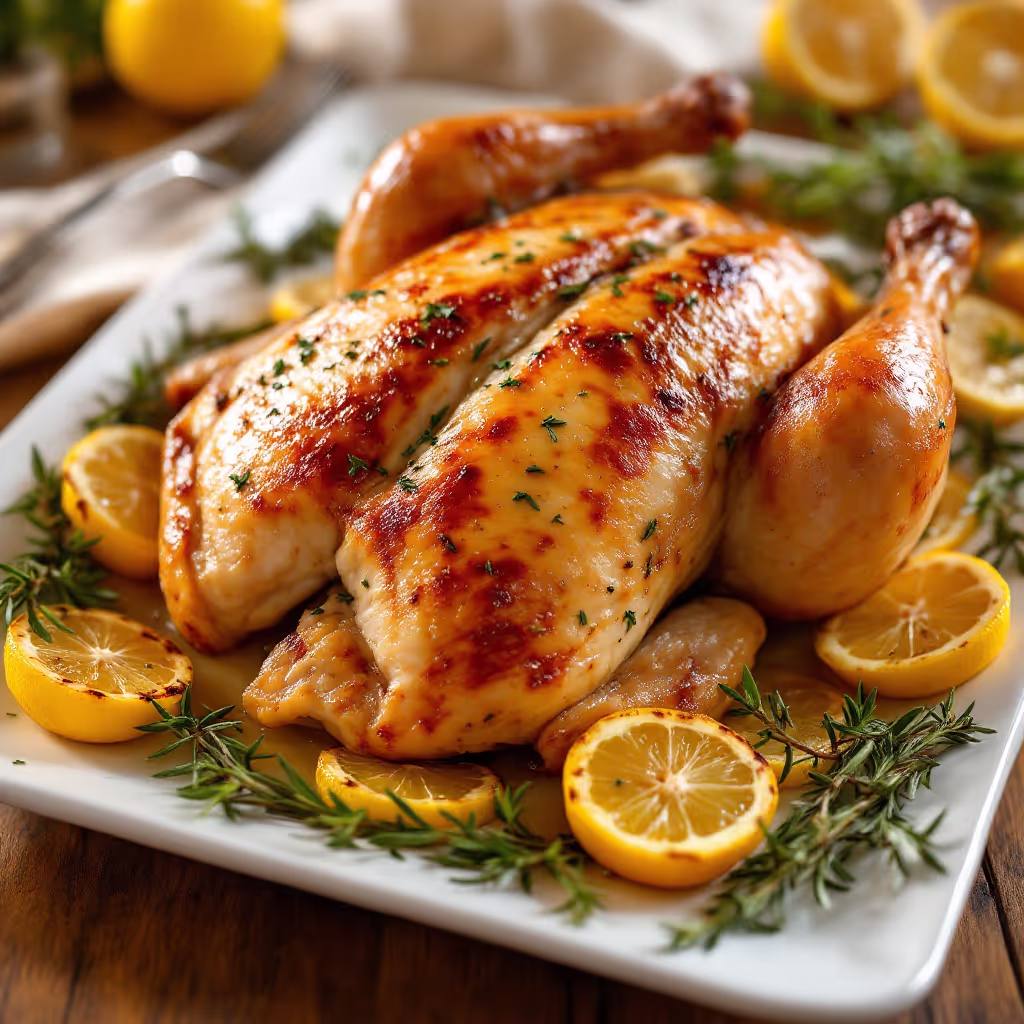
Spatchcocking a Chicken: Complete Preparation Technique
Learn to flatten and debone a chicken for faster, more even cooking and perfect crispy skin every time on the grill.
Method:
Spatchcocking transforms an ordinary grilled chicken into something extraordinary. This comprehensive technique involves removing the backbone and key internal bones, then flattening the bird to create an even thickness throughout. The result is faster cooking, more even heat distribution, and easier carving when it's time to serve.
- Preparation Place your whole chicken breast-side down on a sturdy cutting board. Pat the skin dry with paper towels for better grip.
- Remove the Backbone Using sharp kitchen scissors or poultry shears, cut along both sides of the backbone from tail to neck to remove it completely. Apply firm, controlled pressure, keeping close to the backbone to avoid wasting meat. (Pro tip: Save the backbone for homemade stock.)
- Address the Thigh-to-Spine Connection Locate the small bone that connects each thigh to where the spine was. Run your knife along the flat side of this bone and pop the joint out so it comes off easily. Also remove the ribs and the membrane connecting the thighs to the spine area. This will leave the skin as the only thing keeping the legs attached to the body.
- Cut the Wishbone Flip the chicken breast-side up. At the neck end, make a small incision in the flesh over each side of the wishbone. Using your fingers or the tip of your knife, loosen the wishbone from the surrounding meat. Grasp the wishbone and pull it out, or cut it free if necessary.
- Remove Breast Keel Bones Locate the two bones that protrude from the back of the breasts (keel bones). Follow them with the flat side of your knife until you find and expose the joint. Wiggle each bone back and forth until it pops out. Don't worry if the bone occasionally breaks off—these are removed purely to make carving easier later.
- Flatten the Chicken With the major bones removed, place your palms on the breast and press down firmly to flatten the chicken completely.
- Position Wings and Legs Tuck the wing tips behind the breasts or trim them off to prevent burning. Arrange the legs so they're positioned outward, creating an even thickness throughout.
- Final Preparation Pat the chicken dry again with paper towels. Your thoroughly spatchcocked chicken is now ready for seasoning and grilling according to your preferred recipe.
Equipment Required:
- Sharp kitchen scissors or poultry shears
- Chef's knife with a sharp point
- Boning knife (preferred) or paring knife
- Cutting board (preferably with juice groove)
- Paper towels
- Flat baking tray (for storage if preparing in advance)
- Disposable gloves (optional, but recommended for hygiene)
Key Benefits:
- Faster Cooking Time:
Reduces cooking time by up to 30% compared to a whole bird
- Even Cooking:
Eliminates undercooked spots near joints and overcooked breast meat
- Superior Crispy Skin:
Creates maximum surface area for perfectly crisp, golden skin
- Easier Carving and Serving:
Removing key bones allows for clean, effortless portioning
- Better Flavour Absorption:
Flattened shape allows marinades and rubs to penetrate more effectively
- Impressive Presentation:
Creates a restaurant-quality appearance on the serving platter
Tips and Tricks:
- Practice the "clean hand, dirty hand" technique—keep your knife/tool hand dry and clean while using your other hand for touching raw meat.
- For cleaner cuts, keep your scissors close to the backbone rather than cutting through the thicker rib bones.
- Allow the spatchcocked chicken to rest uncovered in the refrigerator for 1-2 hours before grilling for extra-crispy skin.
- Apply seasonings or marinades under the skin for more flavourful meat.
- When grilling, start with skin side up on indirect heat, then finish skin side down on direct heat.
Common Mistakes:
- Not finding the natural separation points between bones and flesh, resulting in jagged cuts.
- Breaking off bones incompletely, leaving splinters that could be encountered while eating.
- Tearing the skin that connects the thighs to the body, which helps hold everything together during cooking.
- Not accounting for the faster cooking time, leading to overdone meat.
- Placing the chicken skin-side down initially, causing it to stick to the grill.
- Discarding removed bones instead of saving them for nutritious stock.
This technique works brilliantly with our dual recipe approach. Prepare it traditionally for rich, crispy-skinned indulgence or follow our leaner modifications for a healthier yet equally delicious barbecue experience.
Troubleshooting
Difficult Cutting:
If your scissors struggle to cut through the backbone, try repositioning closer to the vertebrae where the bones are thinner, or use the tip of your chef's knife to score the joints before cutting.
Bones Breaking Unevenly:
When a bone breaks rather than removes cleanly, use the tip of your knife to carefully follow the remaining fragment and gently lever it out rather than leaving it in place.
Uneven Flattening:
If your chicken doesn't lie flat after pressing, look for remaining cartilage connections along the breastbone that need to be cut, or score the breastbone from the inside with shallow cuts to help it flatten.
Skin Tearing:
If the skin tears during preparation, use toothpicks or small metal skewers to pin it back in place before cooking to prevent further tearing and moisture loss.
Difficulty Removing Wishbone:
If you can't extract the wishbone easily, don't force it. This step is helpful but optional—you can proceed without removing it and still achieve excellent results.
Technique Adaptations
Partial Spatchcock:
For a simpler version that still provides most benefits, remove only the backbone and flatten the chicken without removing the wishbone or keel bones—reducing preparation time to just 5-7 minutes while still improving cooking performance.
Turkey Adaptation:
Apply the same technique to a whole turkey using stronger poultry shears or kitchen scissors for smaller birds (under 5kg/11lbs) or a good quality hacksaw for larger ones, allowing for dramatically reduced cooking times on festive occasions.
Spit Roasting Variation:
After spatchcocking, thread a rotisserie spit horizontally through the thigh and breast area, securing with forks to create an evenly rotating cooking surface that bastes itself continuously.
Indirect Heat Method:
For electric or gas grills without a proper two-zone setup, place a drip tray under the chicken and position the bird away from direct flames, mimicking the indirect cooking method on any equipment.


